Homemade Whipped Cream Recipe

Homemade whipped cream is one of those recipes that feels magical every time you make it. With just a few simple ingredients, you can transform heavy cream into a luscious, fluffy topping that elevates any dessert. Store-bought whipped cream has its place, but there’s nothing quite like the fresh, creamy taste of the homemade version. It’s free of unnecessary preservatives and allows you to customize the sweetness and flavor to suit your preferences.
Whether you’re topping off a slice of pie, garnishing a steaming mug of hot chocolate, or adding a light and airy layer to shortcakes, homemade whipped cream is the perfect finishing touch. This guide will walk you through the process step by step and provide tips and tricks to ensure perfect results every time.
Why Make Homemade Whipped Cream?
- Better Taste: Fresh whipped cream has a natural, creamy flavor that’s far superior to the canned or tubbed varieties.
- Customizable Sweetness: You control how sweet it is, allowing you to pair it perfectly with any dish.
- Simple Ingredients: Made with just three ingredients—heavy cream, powdered sugar, and vanilla extract—it’s as simple as it gets.
- Quick and Easy: Ready in just 5 minutes, homemade whipped cream is faster than a trip to the store.

The Secret to Perfect Whipped Cream
The key to perfect whipped cream lies in keeping everything cold. Chilling your bowl and beaters before you begin helps the cream whip faster and prevents it from becoming too warm, which can lead to a runny texture. Heavy whipping cream is the ideal choice because its higher fat content ensures the best volume and texture.
Step-by-Step Guide to Making Whipped Cream
1. Chill Your Equipment
Start by placing your mixing bowl and beaters in the freezer for 10-15 minutes. This step may seem minor, but it makes a big difference in achieving a light and fluffy texture.
2. Add Ingredients
Pour one cup of cold heavy whipping cream into the chilled bowl. Add two tablespoons of powdered sugar for sweetness and one teaspoon of vanilla extract for flavor. You can adjust these amounts to suit your taste or skip the sugar and vanilla entirely for an unsweetened version.
3. Whip It Up
Using a hand mixer, stand mixer, or whisk, start beating the cream on medium speed. As it begins to thicken, increase the speed to medium-high. Be patient—this process usually takes 2-3 minutes.
4. Check for Peaks
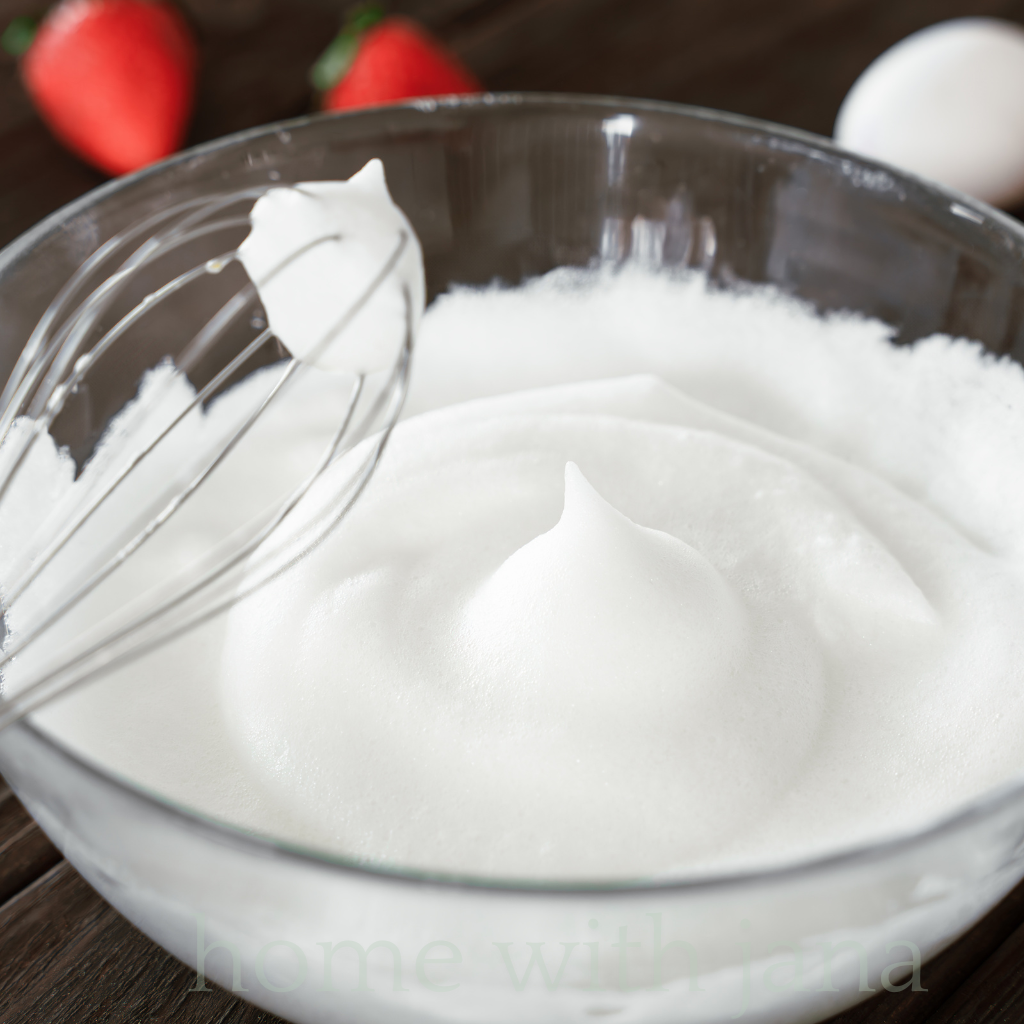
Watch for soft peaks, which hold their shape but collapse back into the bowl when the whisk is lifted. If you need a firmer whipped cream for piping or filling, continue beating until stiff peaks form. These will hold their shape and not collapse.
5. Serve and Enjoy
Once whipped to your desired consistency, your whipped cream is ready to use. Serve it immediately or store it in the refrigerator for up to 24 hours in an airtight container.
Tips for Success
- Don’t Overwhip: Be careful not to whip the cream too long, as it can quickly turn into butter. If you accidentally overwhip, you can salvage it by adding a splash of cream and gently folding it in by hand.
- Use High-Quality Ingredients: Since whipped cream is so simple, the quality of your ingredients really shines. Use fresh heavy cream and pure vanilla extract for the best results.
- Experiment with Flavors: Get creative by adding a dash of cinnamon, a hint of almond extract, or even a spoonful of cocoa powder for a chocolate twist.
Creative Ways to Use Whipped Cream
Homemade whipped cream isn’t just for topping desserts. Here are some creative ways to use it:
- On Beverages: Dollop it on hot chocolate, coffee, or milkshakes for a decadent treat.
- As a Dip: Pair it with fresh fruit like strawberries, peaches, or apple slices.
- In Desserts: Use it as a filling for cream puffs, layered cakes, or trifles.
- For Breakfast: Spread it on pancakes or waffles with a drizzle of maple syrup.
Frequently Asked Questions
Can I make whipped cream ahead of time?
Yes, you can make whipped cream a day in advance. Store it in an airtight container in the fridge and give it a gentle whisk before serving.
Can I use granulated sugar instead of powdered sugar?
Powdered sugar is preferred because it dissolves more easily, but granulated sugar can be used in a pinch. Just whip a little longer to ensure it’s fully dissolved.
Can I freeze whipped cream?
Yes, you can freeze dollops of whipped cream on a baking sheet. Once frozen, transfer them to a freezer bag. They’re great for topping hot drinks or desserts straight from the freezer.
Why This Recipe Belongs in Your Repertoire
Homemade whipped cream is a game-changer. It’s quick, easy, and endlessly versatile, making it an essential recipe for any home baker or dessert lover. Whether you’re preparing an elegant dinner party or simply treating yourself to a cozy evening at home, this recipe is a surefire way to elevate your dishes with minimal effort. Once you try it, you’ll never go back to store-bought!

How to Make Homemade Whipped Cream | Quick and Easy Recipe
Ingredients
Method
- Chill Your Tools:Place your mixing bowl and beaters or whisk attachment in the freezer for 10-15 minutes. Cold tools make the whipping process easier and more effective.
- Pour the Cream:Remove the tools from the freezer and pour the cold heavy whipping cream into the chilled bowl.
- Add Sweeteners and Flavor (Optional):If desired, add powdered sugar and vanilla extract for sweetness and flavor. You can skip this step for an unsweetened version.
- Whip the Cream:Using a hand mixer, stand mixer, or whisk, beat the cream on medium-high speed. Start slow to prevent splashing, then increase speed as it thickens.
- Look for Soft Peaks:After about 2-3 minutes, check for soft peaks. These will gently hold their shape but will collapse back into the bowl when lifted.
- Whip to Stiff Peaks (Optional):For a firmer texture, continue whipping for another 1-2 minutes until stiff peaks form. Be careful not to overwhip, as this will turn the cream into butter.
- Serve Immediately:Use immediately to top cakes, pies, hot chocolate, or fresh fruit. You can also refrigerate for up to 24 hours in an airtight container.
Notes
Notes:
- Custom Sweetness: Adjust the powdered sugar based on your desired level of sweetness.
- Flavor Variations: Swap vanilla extract for almond extract, lemon zest, or cocoa powder for unique flavors.
- Storage Tip: If storing, re-whisk gently before serving to refresh the texture.

