Ingredients
Method
- Start by placing 2 egg whites in a clean, grease-free mixing bowl. Using a stand mixer or hand mixer on medium speed, beat the egg whites until they become frothy. This takes about 1-2 minutes. Frothy egg whites are essential for giving the icing its light, airy texture.Tip: Ensure your bowl and beaters are completely clean and dry. Any trace of grease can prevent the egg whites from whipping properly.
- Once the egg whites are frothy, add 1 teaspoon of vanilla extract. Mix until the vanilla is fully incorporated. Vanilla not only enhances the flavor but also complements any baked treats you’re decorating.
- With the mixer on low speed, gradually add the 3 cups of sifted powdered sugar one spoonful at a time. This prevents the sugar from flying out of the bowl and ensures it mixes evenly with the egg whites.After all the sugar is added, increase the mixer to medium speed. Mix for 2-3 minutes, stopping occasionally to scrape down the sides of the bowl.Goal: Your icing should be smooth, thick, and glossy with no visible lumps.
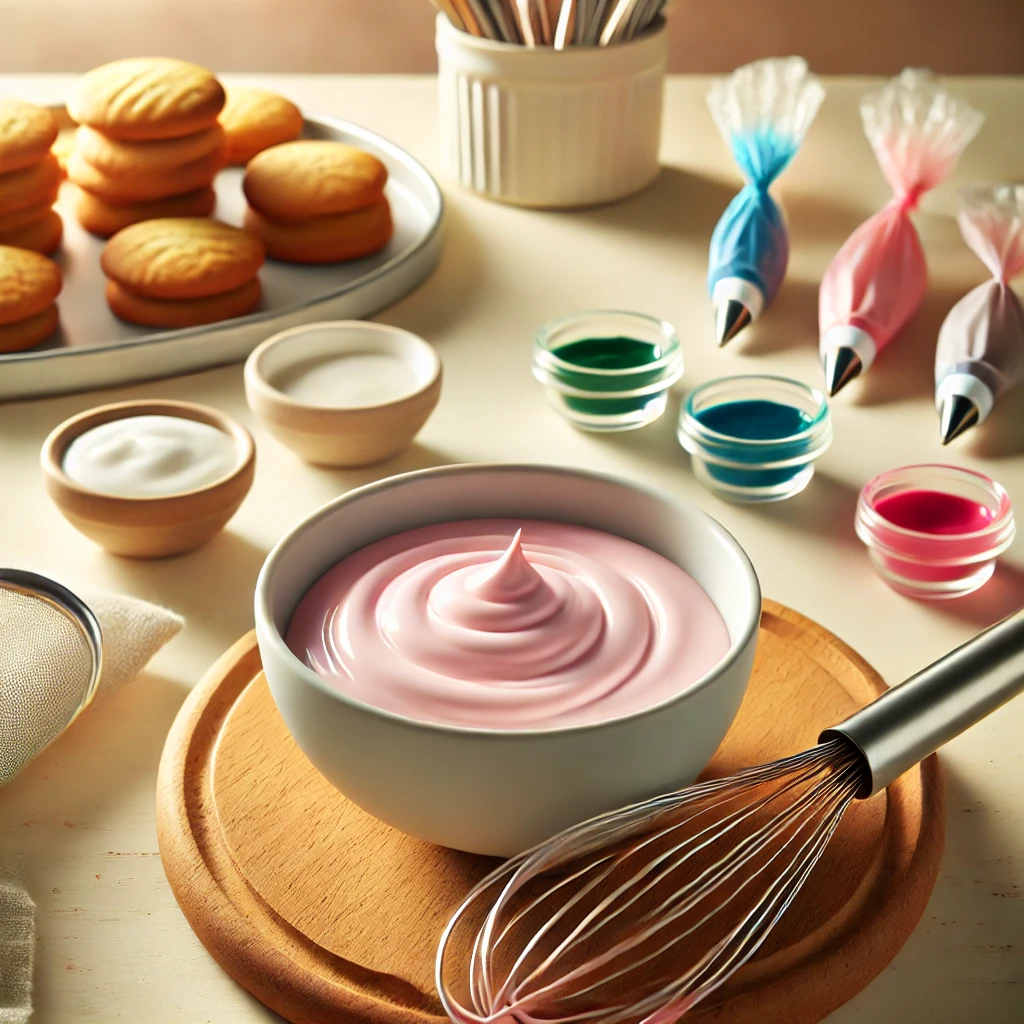
- The consistency of your royal icing is crucial, depending on how you plan to use it:Tip: Use a spoon to test your consistency. If it holds a peak, it’s stiff. If it settles smoothly after 10 seconds, it’s perfect for flooding.Stiff Consistency: Perfect for piping details, flowers, and intricate designs. It should hold its shape when piped.Medium Consistency: Ideal for outlining cookies or creating a border.Flooding Consistency: Thin the icing with a teaspoon of water at a time until it flows like honey. This is ideal for filling in larger areas of cookies.
- If you’re adding food coloring, divide the icing into smaller bowls and add gel food coloring a drop at a time. Mix until your desired color is achieved. Gel colors are best because they don’t alter the icing’s consistency.
Notes
Tips for Perfect Royal Icing
- Work Quickly: Royal icing begins to dry out when exposed to air. Always cover your bowl with a damp towel or plastic wrap when not in use.
- Piping Bags: Use piping bags with fine tips for precision. Alternatively, sandwich bags with a small corner cut off work for quick decorating.
- Practice on Paper: Before decorating your cookies or cakes, practice your designs on parchment paper.
- Storage: Store unused royal icing in an airtight container, pressing plastic wrap directly onto the surface to prevent crusting. It will last for 2-3 days at room temperature.
Decorating Ideas Using Royal Icing
- Outline and Flood Cookies: Start by outlining your cookies with stiff icing, then flood the center with thinner icing for a smooth, professional finish.
- Add Details: Once the first layer dries, use a piping bag to add details like polka dots, stripes, or snowflakes.
- Layered Colors: Create multi-colored designs by layering different shades. Wait for each layer to dry before adding the next.
- Create Flowers or Ribbons: Stiff royal icing is perfect for piping delicate flowers, bows, and other intricate accents on cakes and cupcakes.
