Ingredients
Method
Step 1: Prepare Your Equipment
- Use either a stand mixer with a whisk attachment or a hand mixer and a large mixing bowl.
- Ensure the bowl is deep enough to prevent splattering as the cream whips.
Step 2: Whip the Cream
- Pour the heavy whipping cream into the mixing bowl.
- Start whipping on medium speed, gradually increasing to high speed.
- First, the cream will turn into whipped cream (about 2-3 minutes). Keep whipping until it separates into butter and buttermilk (about 6-8 minutes total).
- You’ll see the liquid (buttermilk) separate, leaving clumps of butter solids.
Step 3: Strain and Rinse the Butter
- Once the cream separates, pour off the liquid (buttermilk) and set it aside for later use in baking or pancakes.
- Transfer the butter solids to a fine-mesh sieve or cheesecloth.
- Rinse the butter under cold water, gently pressing it to remove any remaining buttermilk. Repeat until the water runs clear.
Step 4: Add Salt (Optional)
- If you want salted butter, mix in 1/4 tsp of salt after rinsing. Adjust to taste.
Step 5: Shape and Store
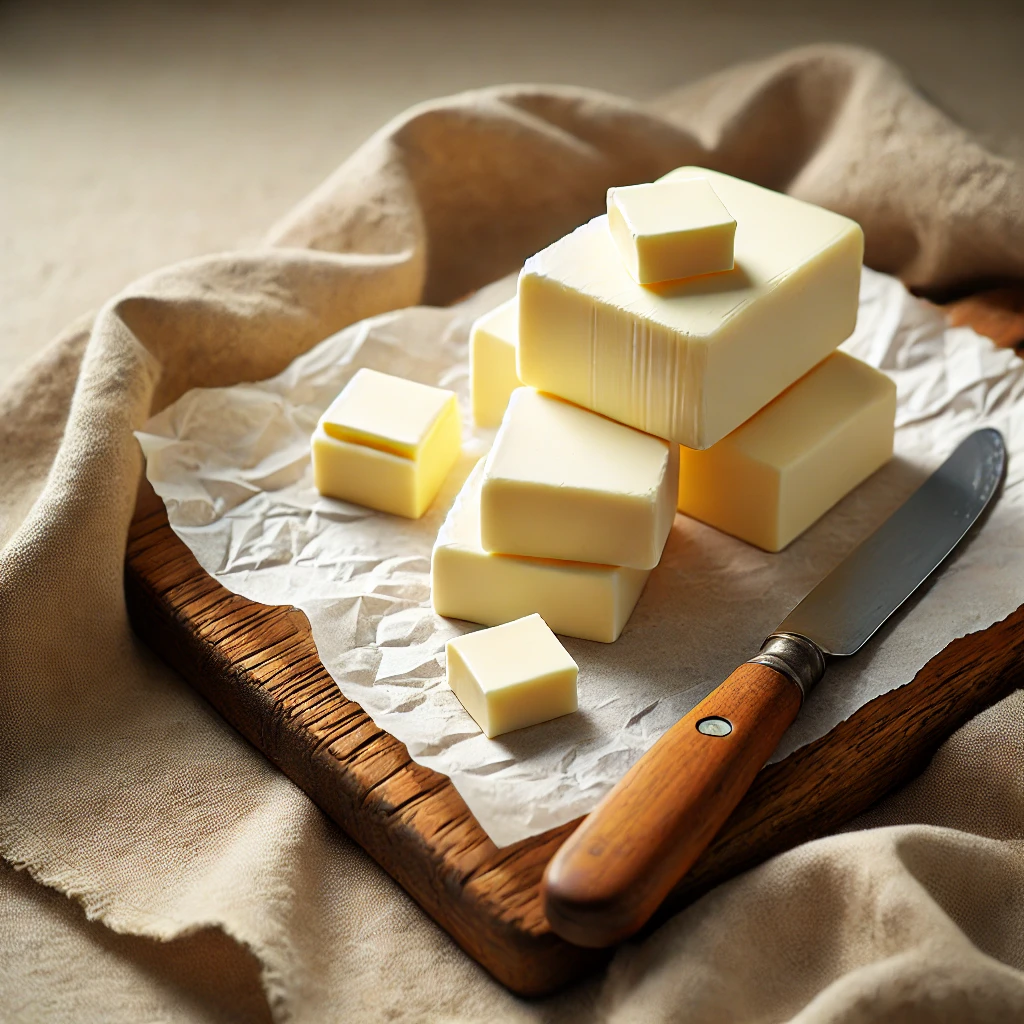
- Shape the butter into a ball or press it into a butter mold for a polished look.
- Wrap the butter in parchment paper or store it in an airtight container.
- Refrigerate for up to 2 weeks or freeze for longer storage.
Notes
Recipe Notes
- Yield: 2 cups of heavy cream typically yield ~1 cup of butter and ~1/2 cup of buttermilk.
- Storage Tips:
- Store in an airtight container in the refrigerator for up to 2 weeks.
- For longer storage, wrap in parchment paper or plastic wrap and freeze for up to 6 months.
- Adjustable Salt: Add salt gradually to taste if making salted butter.
- Buttermilk Uses: The leftover buttermilk is perfect for making pancakes, biscuits, or even savory marinades.
