
Fluffy Cheesy Crescent Rolls
Imagine biting into a warm, buttery crescent roll oozing with melted mozzarella cheese. These cheesy crescent rolls are soft, fluffy, and packed with flavor, making them the perfect addition to any meal or a satisfying snack on their own. With simple ingredients and straightforward steps, this recipe is beginner-friendly and guaranteed to impress.
The secret to their irresistible texture? A generous brush of melted butter right after baking. Trust me, you’ll want to make a double batch because these rolls disappear fast!
Why This Recipe Works
These cheesy crescent rolls are a perfect blend of simplicity and indulgence. The soft, fluffy dough pairs beautifully with the gooey melted cheese, while the buttery finish adds a touch of richness. Whether you’re serving them as a side dish for dinner or enjoying them as a snack, these rolls are sure to be a hit.
How to Shape Cheesy Crescent Rolls Like a Pro
Shaping crescent rolls might seem tricky at first, but with a little practice, it’s actually quite simple! Here’s an easy step-by-step guide to help you create those beautiful, unique crescent shapes:
Step-by-Step Guide to Shaping Crescent Rolls
- Divide the Dough:
After the dough has risen, punch it down gently to release any air bubbles. Divide it into 10-12 equal pieces using a sharp knife or dough scraper. - Roll into Balls:
Take one piece of dough and roll it into a smooth ball using the palms of your hands. Repeat with the remaining pieces. - Flatten and Add Filling:
Use a rolling pin or your hands to flatten each ball into a small circle, about ¼-inch thick. Place a small handful of mozzarella cheese (or your preferred filling) in the center. - Fold and Seal:
Fold the dough over the filling to create a half-moon shape. Pinch the edges firmly to seal the cheese inside. - Shape into Crescents:
Gently roll the sealed half-moon shape into a crescent by starting at the wider end and rolling toward the pointed tip. Tuck the pointed end underneath to secure the shape. - Place on Baking Tray:
Arrange the shaped rolls on a parchment-lined baking tray, leaving some space between each one to allow for expansion during baking.
Tips for Perfect Shapes
- Keep It Even: Make sure the dough is rolled evenly to ensure consistent baking.
- Don’t Overstuff: Use just enough cheese to fill the rolls without making them difficult to seal.
- Practice Makes Perfect: If your first few rolls aren’t perfect, don’t worry! They’ll still taste amazing, and you’ll get better with practice.
Visual Cues for Success
- The rolls should look like small, curved crescents with smooth, sealed edges.
- If the dough springs back while shaping, let it rest for 5 minutes before trying again.
With these simple steps, you’ll be shaping cheesy crescent rolls like a pro in no time! Enjoy the process, and don’t forget to brush them with melted butter for that golden, buttery finish. Happy baking!
After I roll it out I put mozzarella cheese at the top and fold over into a crescent moon. Then I cut vertical strips at the bottom and then roll it up
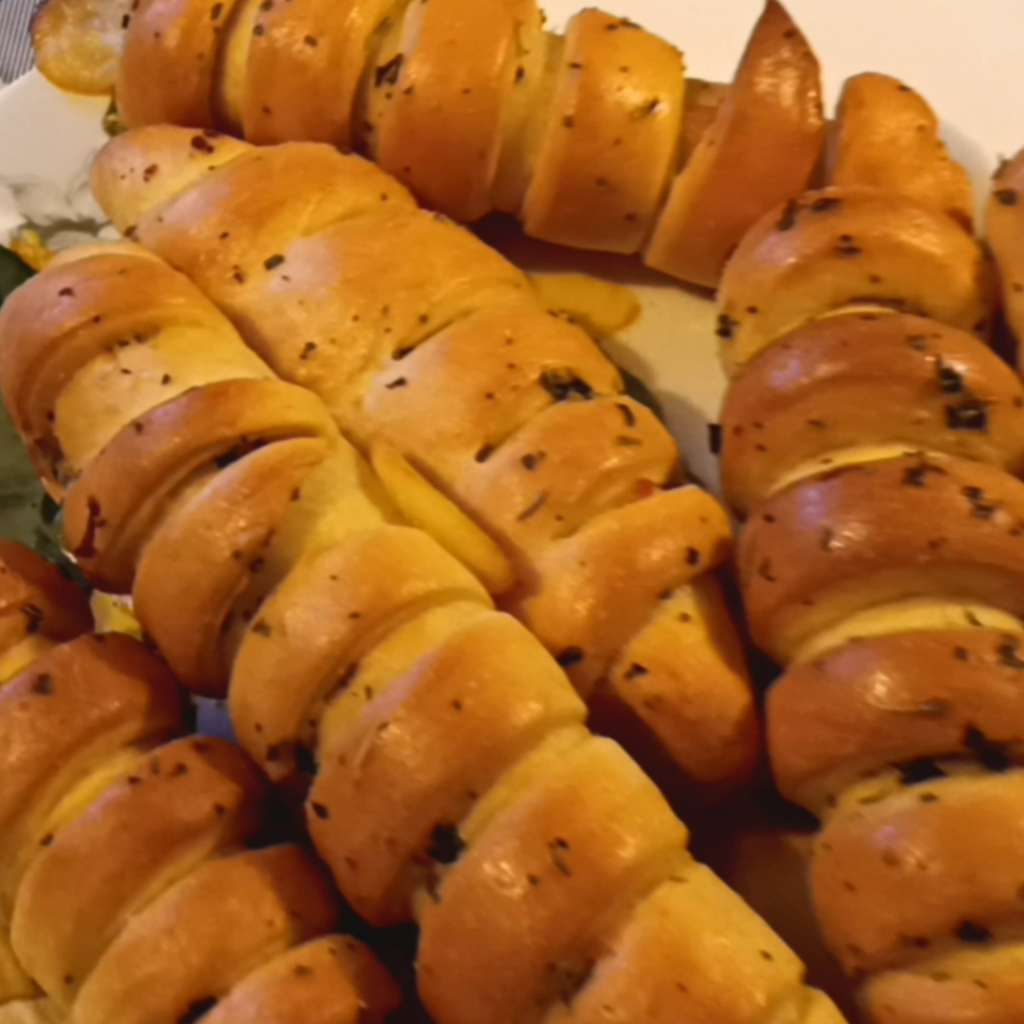
How to Shape Cheesy Crescent Rolls with a Twist
If you’re looking to create a unique and visually stunning version of cheesy crescent rolls, this method is for you! By adding vertical cuts and rolling the dough, you’ll end up with beautiful, layered rolls that are as fun to make as they are to eat. Here’s how to do it step by step:
Step-by-Step Guide to Shaping Crescent Rolls with Vertical Cuts
- Divide the Dough:
After the dough has risen, punch it down gently to release any air bubbles. Divide it into 10-12 equal pieces using a sharp knife or dough scraper. - Roll into Balls:
Take one piece of dough and roll it into a smooth ball using the palms of your hands. Repeat with the remaining pieces. - Roll Out the Dough:
On a lightly floured surface, use a rolling pin to flatten each ball into a small oval or circle, about ¼-inch thick. - Add the Cheese:
Place a small handful of mozzarella cheese (or your preferred filling) at the top of the rolled-out dough, leaving a small border around the edges. - Fold into a Crescent:
Fold the dough over the cheese to create a half-moon shape. Press the edges firmly to seal the cheese inside. - Make Vertical Cuts:
Using a sharp knife or kitchen scissors, make 3-4 vertical cuts along the curved edge of the folded dough (the bottom part). These cuts should go about halfway up the dough, creating strips that you’ll roll up. - Roll It Up:
Starting from one end, gently roll the dough toward the other end, tucking the strips underneath as you go. The cuts will create a beautiful layered effect as the rolls bake. - Place on Baking Tray:
Arrange the shaped rolls on a parchment-lined baking tray, leaving some space between each one to allow for expansion during baking.
Tips for Perfect Rolls
- Don’t Overstuff: Use just enough cheese to fill the rolls without making them difficult to seal.
- Seal Well: Press the edges firmly to prevent the cheese from leaking out during baking.
- Even Cuts: Make sure your vertical cuts are evenly spaced for a uniform look.
Why This Method Works
This technique not only adds a unique twist to your crescent rolls but also creates layers that make each bite extra fluffy and flavorful. The vertical cuts allow the dough to expand beautifully in the oven, giving your rolls a professional, bakery-style appearance.
Serving Suggestion
Serve these rolls warm, straight out of the oven, for the best cheesy, buttery experience. They’re perfect as a side dish for soups, salads, or even as a snack on their own.
Fluffy Cheesy Crescent Rolls
Ingredients
Method
- In a large mixing bowl, whisk together the flour, sugar, and salt until well combined.
- In a separate bowl, combine the warm milk, melted butter, and dried yeast. Stir gently and let it sit for 5 minutes until the mixture becomes frothy.
- Pour the yeast mixture into the dry ingredients and mix until a shaggy dough forms. If using a stand mixer, knead on medium-high speed for 3-4 minutes until smooth. If kneading by hand, work the dough on a floured surface for 10-12 minutes until elastic.
- Place the dough in a lightly greased bowl, cover it with a damp kitchen towel, and let it rise in a warm spot for 2 hours or until doubled in size.
- Once the dough has risen, punch it down gently and divide it into 10-12 equal pieces. Roll each piece into a ball, flatten it slightly, and place a small handful of mozzarella cheese in the center. Fold the dough over the cheese and shape it into a crescent.
- Use a sharp knife or kitchen scissors to make 3-4 vertical cuts along the curved edge of the folded dough (the bottom part). These cuts should go about halfway up the dough. Starting from one end, gently roll the dough toward the other end, tucking the strips underneath as you go.
- Preheat your oven to 180°C (350°F). Arrange the rolls on a parchment-lined baking tray, leaving space between each one. Bake for 18-20 minutes or until golden brown.
- As soon as the rolls come out of the oven, brush them generously with melted butter. This step adds a rich, glossy finish and enhances the flavor.
Notes
- Storage Tips: Store leftover rolls in an airtight container or ziplock bag at room temperature for up to 2 days. Reheat in the oven or microwave before serving.
- Customize Your Rolls: Swap mozzarella for cheddar, add a sprinkle of garlic powder, or mix in herbs like rosemary or thyme for extra flavor.
- Yeast Tip: Make sure your milk is warm but not hot (around 37°C/98°F) to activate the yeast properly.