
Apple Hand Pies Recipe
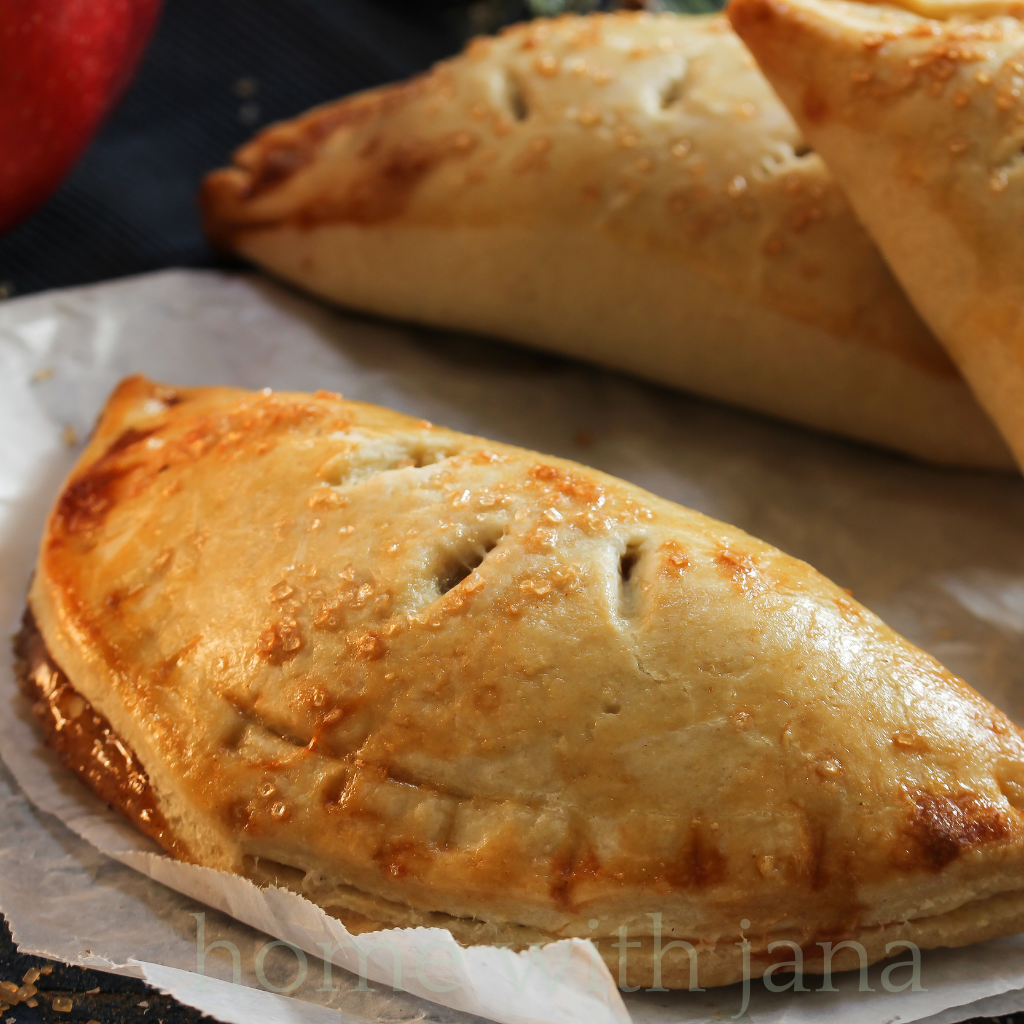
Nothing beats the warm, comforting flavors of homemade apple hand pies—flaky, buttery crust filled with tender cinnamon-spiced apples and baked to golden perfection. These little pies are the perfect snack, dessert, or even breakfast treat, and they’re easy to make using simple ingredients. Whether you’re making them for a cozy fall afternoon or prepping a batch for the holidays, these apple hand pies will quickly become a family favorite.
Why You’ll Love This Recipe
This homemade apple hand pie recipe is one you’ll want to make again and again. These little pies are perfectly portable, making them an easy grab-and-go snack or dessert. They feature a flaky, buttery crust made with real butter, giving them that crisp yet tender bite that makes every bite irresistible. The best part? They use simple, everyday ingredients—nothing fancy, just pantry staples and fresh apples. Plus, they’re easily customizable, so you can swap out flavors, add fun toppings, or use natural sweeteners for a healthier twist. Whether you’re enjoying them for breakfast, as an afternoon treat, or sharing them at a holiday gathering, these apple hand pies are guaranteed to bring warmth and comfort to any occasion!
How to Store Apple Hand Pies
Keeping your apple hand pies fresh is easy with a few simple storage tips. At room temperature, you can store them in an airtight container for up to two days, making them a perfect grab-and-go treat. If you need to keep them longer, place them in the refrigerator for up to five days. When ready to enjoy, simply warm them up in the oven for that freshly baked taste. For long-term storage, freeze unbaked pies for up to three months and bake them straight from frozen, adding an extra 3-5 minutes to the baking time. This way, you can always have a batch of warm, flaky apple pies ready whenever you need them!
Topping Variations
You can easily customize these apple hand pies with different toppings to enhance their flavor and texture. For a classic, sweet finish, dust them with powdered sugar after baking. If you prefer a glazed topping, mix powdered sugar with a little milk to create a simple icing and drizzle it over the warm pies. For a richer, more textured topping, sprinkle a crumb mixture of brown sugar and cinnamon before baking to add an extra layer of sweetness. If you love a bit of crunch, try adding finely chopped pecans or walnuts to the filling for a nutty twist.
How to Make a Healthier Version
If you’re looking for a healthier take on apple hand pies, there are a few easy swaps you can make. Instead of using all-purpose flour, try replacing half with whole wheat flour for added fiber and nutrients. You can also reduce the sugar by using less maple syrup or choosing a natural sweetener like coconut sugar. For a lighter baking method, skip the oven and use an air fryer at 350°F for 12-15 minutes, which gives you the same crispy texture with less oil and a shorter cooking time.
How to Serve Apple Hand Pies
These mini apple pies are perfect for so many occasions! Enjoy them as a breakfast treat with a hot cup of coffee or tea for a cozy start to the day. As a snack or dessert, serve them warm with a scoop of vanilla ice cream or a dollop of Greek yogurt for a delicious contrast of flavors. They also make a great holiday party favorite, whether you’re sharing them for Thanksgiving, Christmas, or any seasonal gathering. However you serve them, these little pies are sure to bring warmth and joy to any occasion!
Frequently Asked Questions (FAQ)
1. Can I make apple hand pies ahead of time?
Yes! You can assemble them ahead and store them unbaked in the fridge for up to 24 hours, then bake when ready.
2. Can I use store-bought pie dough?
Absolutely! If short on time, store-bought dough works just as well.
3. What are the best apples for hand pies?
Granny Smith, Honeycrisp, or Fuji apples work best as they hold their shape and offer the right balance of sweetness and tartness.
4. Can I fry apple hand pies instead of baking them?
Yes! Heat oil to 350°F and fry for 3-4 minutes per side until golden brown. Drain on paper towels before serving.
5. Can I make these gluten-free?
Yes! Swap the all-purpose flour for a 1:1 gluten-free flour blend for best results.
Apple Hand Pies Recipe
Ingredients
Method
- In a large mixing bowl, whisk together the flour, salt, and sugar (if using). Add the cold, cubed butter and use a pastry cutter or your hands to blend it into the flour until the mixture resembles coarse crumbs.
- Gradually add ice water, one tablespoon at a time, mixing with a fork until the dough starts to come together. Be careful not to overwork it. Form the dough into a ball, wrap it in plastic wrap, and chill in the refrigerator for at least 30 minutes.
- While the dough chills, prepare the filling. In a saucepan over medium heat, combine the diced apples, maple syrup, cinnamon, nutmeg, and vanilla extract. Stir well and let the apples cook for 5-7 minutes, until they soften slightly.
- In a small bowl, mix the cornstarch and water to create a slurry, then add it to the apples. Stir continuously for another 1-2 minutes, until the mixture thickens. Remove from heat and let cool completely.
- Preheat your oven to 375°F (190°C) and line a baking sheet with parchment paper.
- On a lightly floured surface, roll out the chilled dough to about ¼-inch thickness. Use a 3-4 inch round cutter (or the rim of a glass) to cut out circles. Re-roll any scraps to get as many circles as possible.
- Place about 1-2 tablespoons of the cooled apple filling in the center of half of the dough circles. Place another dough circle on top and gently press the edges together to seal.
- Use a fork to crimp the edges, ensuring they’re sealed tightly. Cut a small slit on top of each hand pie to allow steam to escape.
- In a small bowl, whisk the egg and brush a light coating over the tops of the pies for a golden finish. Sprinkle with a mix of rolled oats and cinnamon for extra texture and flavor.
- Place the pies on the prepared baking sheet and bake for 18-22 minutes, or until golden brown and crispy.
- Let the apple hand pies cool for 5-10 minutes before serving. Enjoy them warm on their own, or serve with vanilla ice cream, whipped cream, or a drizzle of caramel sauce.
Notes
Recipe Notes
- Dough Chilling is Key: Letting the dough chill in the refrigerator for at least 30 minutes helps create a flaky, buttery crust. If you have extra time, chilling for an hour will give even better results.
- Don’t Overfill: Adding too much filling can cause the pies to burst open while baking. Stick to 1-2 tablespoons per pie for the perfect balance.
- Sealing the Edges: Make sure to crimp the edges well using a fork to prevent any filling from leaking out during baking. You can also lightly brush the edges with water before sealing to help them stick.
- Baking Tip: If you want extra golden, crispy hand pies, brush them with egg wash (1 beaten egg + 1 tablespoon water) before baking.
- Serving Suggestion: These pies taste amazing warm or at room temperature, and they pair beautifully with vanilla ice cream, whipped cream, or a drizzle of caramel sauce.
- Make-Ahead Option: You can assemble the hand pies a day in advance and store them unbaked in the fridge. When ready, bake them straight from the fridge for a fresh, homemade treat.
- Freezing Instructions: To freeze, place unbaked pies on a baking sheet, freeze until firm, then transfer them to an airtight container or freezer bag. Bake directly from frozen, adding 3-5 extra minutes to the baking time.
This homemade apple hand pie recipe is one you’ll want to make again and again. These little pies are perfectly portable, making them an easy grab-and-go snack or dessert. They feature a flaky, buttery crust made with real butter, giving them that crisp yet tender bite that makes every bite irresistible. The best part? They use simple, everyday ingredients—nothing fancy, just pantry staples and fresh apples. Plus, they’re easily customizable, so you can swap out flavors, add fun toppings, or use natural sweeteners for a healthier twist. Whether you’re enjoying them for breakfast, as an afternoon treat, or sharing them at a holiday gathering, these apple hand pies are guaranteed to bring warmth and comfort to any occasion!