
Creamy Homemade Caramel Candy
There’s something magical about homemade candy, isn’t there? Soft, buttery caramels with the perfect chew are always a hit, whether you’re gifting them for the holidays, adding them to a dessert tray, or sneaking one as a treat with your afternoon coffee.
This recipe takes you back to the basics—simple, classic ingredients coming together to create pure magic. With a little patience and a candy thermometer, you’ll be amazed at how easy it is to whip up a batch of these homemade caramels.
Why You’ll Love This Recipe
- Simple Ingredients: You probably have most of these pantry staples already! No fancy tools or complicated steps.
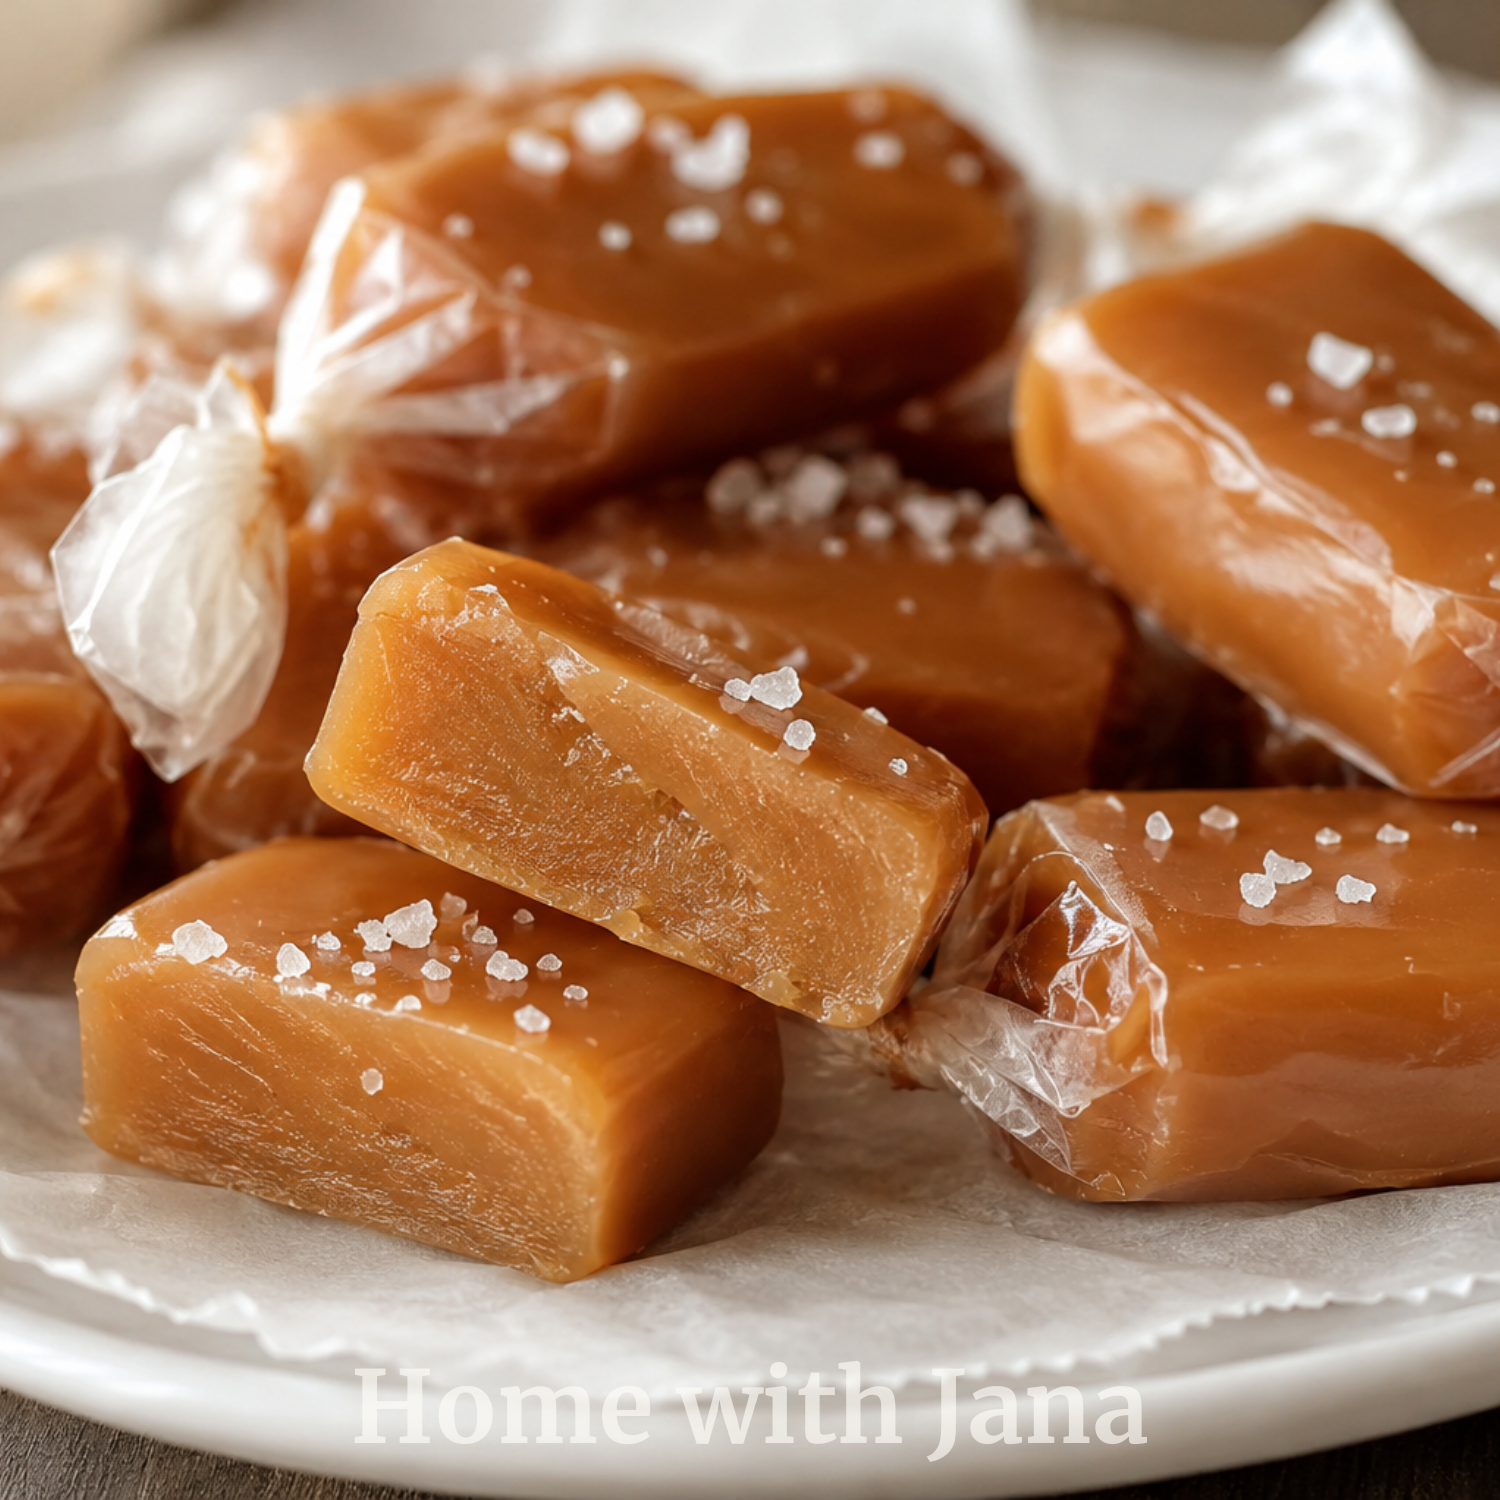
- Perfect Texture: These caramels are soft, chewy, and buttery with just the right amount of sweetness.
- Ideal for Gifting: These make the perfect gift for holidays, birthdays, or any special occasion. Wrap them in clear cellophane and tie with twine for a beautiful homemade treat.
- Beginner-Friendly: Even if you’re new to candy making, this recipe guides you step by step to ensure success.
Common Mistakes and How to Avoid Them
- Not Using a Candy Thermometer: While you can test the caramel manually with cold water, a candy thermometer takes out the guesswork and ensures perfect results every time.
- Rushing the Boiling Process: Candy making is all about patience. Keep the heat at medium and stir constantly. Don’t crank up the heat to speed things up—it’ll likely burn the caramel.
- Skipping the Buttered Pan: Always butter your pan generously. You’ll thank yourself when it’s time to release the caramels.
Creative Ways to Enjoy Your Caramels
- Salted Caramel Twist: Sprinkle flaky sea salt over the caramel while it’s still warm for a sweet-salty flavor combo.
- Chocolate-Dipped Caramels: Once cooled, dip the pieces in melted chocolate and let them set on parchment paper.
- Caramel Drizzles: Melt a few pieces of caramel with a splash of cream to create a perfect caramel drizzle for ice cream or cakes.
Budget-Friendly Tips for Making Homemade Caramel Candy
Creating delicious caramel candy doesn’t have to break the bank! Here are some simple adjustments to save money while keeping the recipe creamy and indulgent:
1. Switch to Margarine
- Replace butter with margarine for a more affordable option. While the flavor is slightly different, margarine works perfectly for smooth, creamy caramel.
2. Opt for Store-Brand Ingredients
- Use store-brand sweetened condensed milk, corn syrup, and brown sugar. These alternatives provide the same quality at a lower price.
3. Make Your Own Corn Syrup
- Replace light corn syrup with a homemade version:
- Combine 1 cup sugar + 1/4 cup water + pinch of cream of tartar in a saucepan. Heat and stir until the sugar dissolves completely.
4. Use Imitation Vanilla
- Imitation vanilla extract is a cost-effective substitute for pure vanilla without compromising the flavor of the candy.
5. Buy Ingredients in Bulk
- Purchase brown sugar and other staples in bulk or during sales to save money over time.
6. Reduce the Batch Size
- Cut the recipe in half to make a smaller batch for smaller households or gift-giving.
By making these small adjustments, you can enjoy creamy homemade caramel candy for less, saving up to 30% on ingredient costs without sacrificing taste.
Delicious caramel candy doesn’t have to cost a fortune – with these tips, you can enjoy this homemade treat guilt-free! 🍬
Tips for Success
- Constant stirring is key to smooth, creamy caramel without burning.
- Use a well-buttered pan to ensure the caramel releases easily.
- Cellophane is ideal for wrapping because it won’t stick to the candy like parchment paper.
- Invest in a reliable candy thermometer for accurate results.
Storage
- Store your wrapped caramels in an airtight container at room temperature for up to 2 weeks.
- For longer storage, keep in the refrigerator for up to a month.
FAQs
1. Can I use salted butter instead of unsalted?
Yes! If you use salted butter, simply omit the extra salt in the recipe.
2. How do I store homemade caramels?
Wrap each caramel individually in cellophane and store them in an airtight container at room temperature. They’ll stay fresh for about 2 weeks.
3. Can I freeze the caramels?
Absolutely! Store the wrapped caramels in a freezer-safe bag for up to 3 months. Let them come to room temperature before serving.
4. What if I don’t have a candy thermometer?
Test the caramel using the cold water method: Drop a spoonful into a glass of cold water. If it forms a soft, pliable ball, it’s ready.
Final Thoughts
Making homemade caramel candy might seem intimidating, but trust me—once you try it, you’ll never go back to store-bought. These creamy, melt-in-your-mouth caramels are worth every minute spent at the stove. Plus, the joy of sharing these sweet little bites with friends and family makes it all the more special.
So grab your saucepan, butter up that pan, and let’s get caramel-making! Your kitchen is about to smell absolutely heavenly.
Creamy Homemade Caramel Candy
Ingredients
Method
- Melt the Butter: In a medium saucepan over medium-low heat, melt the butter completely. Turn off the heat.
- Add Sugar and Mix: Stir in the light brown sugar and mix well until it dissolves into the butter.
- Incorporate Salt and Corn Syrup: Add the salt and corn syrup, stirring continuously to combine everything smoothly.
- Mix in Condensed Milk: Slowly pour in the sweetened condensed milk, stirring gently as you add it.
- Bring to a Boil: Turn the heat to medium and bring the mixture to a boil. Important: Stir constantly and gently to prevent burning.
- Cook to Soft-Ball Stage: Continue stirring and cooking the caramel until a candy thermometer reads 243°F (soft-ball stage). This takes about 30–40 minutes.
- Add Vanilla: Remove the saucepan from the heat and stir in the vanilla extract until fully incorporated.
- Pour into Pan: Pour the caramel into a well-buttered 13×9 inch pan, ensuring an even spread.
- Set Overnight: Leave the caramel uncovered at room temperature overnight to allow it to set.
- Cut and Wrap: Once set, cut the caramel into bite-sized pieces. Wrap each piece in cellophane (parchment paper tends to stick).
Notes
Tips for Success
- Constant stirring is key to smooth, creamy caramel without burning.
- Use a well-buttered pan to ensure the caramel releases easily.
- Cellophane is ideal for wrapping because it won’t stick to the candy like parchment paper.
- Invest in a reliable candy thermometer for accurate results.
Storage
- Store your wrapped caramels in an airtight container at room temperature for up to 2 weeks.
- For longer storage, keep in the refrigerator for up to a month.