Creamy Homemade Caramel Candy
There’s something magical about homemade candy, isn’t there? Soft, buttery caramels with the perfect chew are always a hit, whether you’re gifting them for the holidays, adding them to a dessert tray, or sneaking one as a treat with your afternoon coffee.
This recipe takes you back to the basics—simple, classic ingredients coming together to create pure magic. With a little patience and a candy thermometer, you’ll be amazed at how easy it is to whip up a batch of these homemade caramels.
Why You’ll Love This Recipe
- Simple Ingredients: You probably have most of these pantry staples already! No fancy tools or complicated steps.
- Perfect Texture: These caramels are soft, chewy, and buttery with just the right amount of sweetness.
- Ideal for Gifting: These make the perfect gift for holidays, birthdays, or any special occasion. Wrap them in clear cellophane and tie with twine for a beautiful homemade treat.
- Beginner-Friendly: Even if you’re new to candy making, this recipe guides you step by step to ensure success.
Step-by-Step Breakdown
Here’s a little more detail on what you’ll be doing:

1. Melt and Combine
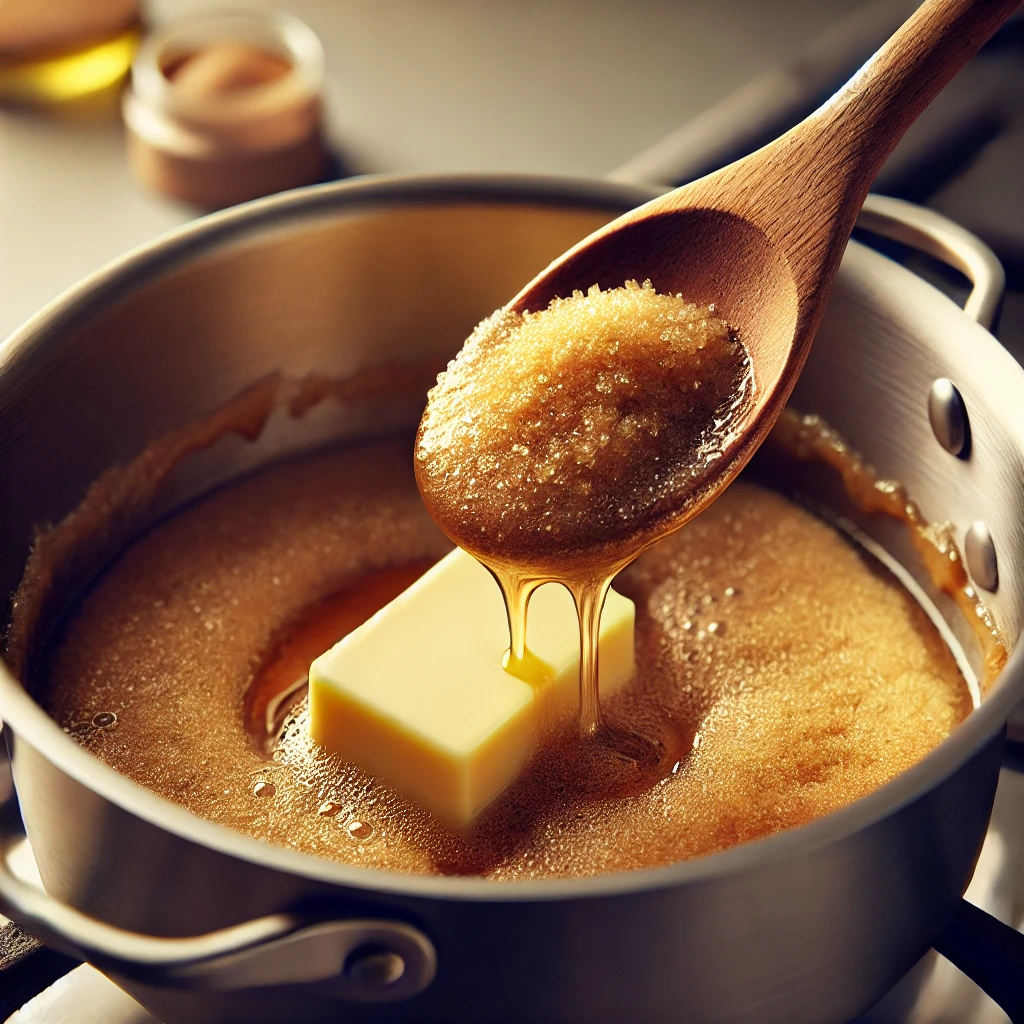
Start by melting the butter gently in a medium saucepan. You don’t want to rush this part—melting the butter completely sets the foundation for smooth, creamy caramel. Once the butter is ready, stir in the brown sugar and mix it well until it dissolves.
2. Add Corn Syrup and Condensed Milk
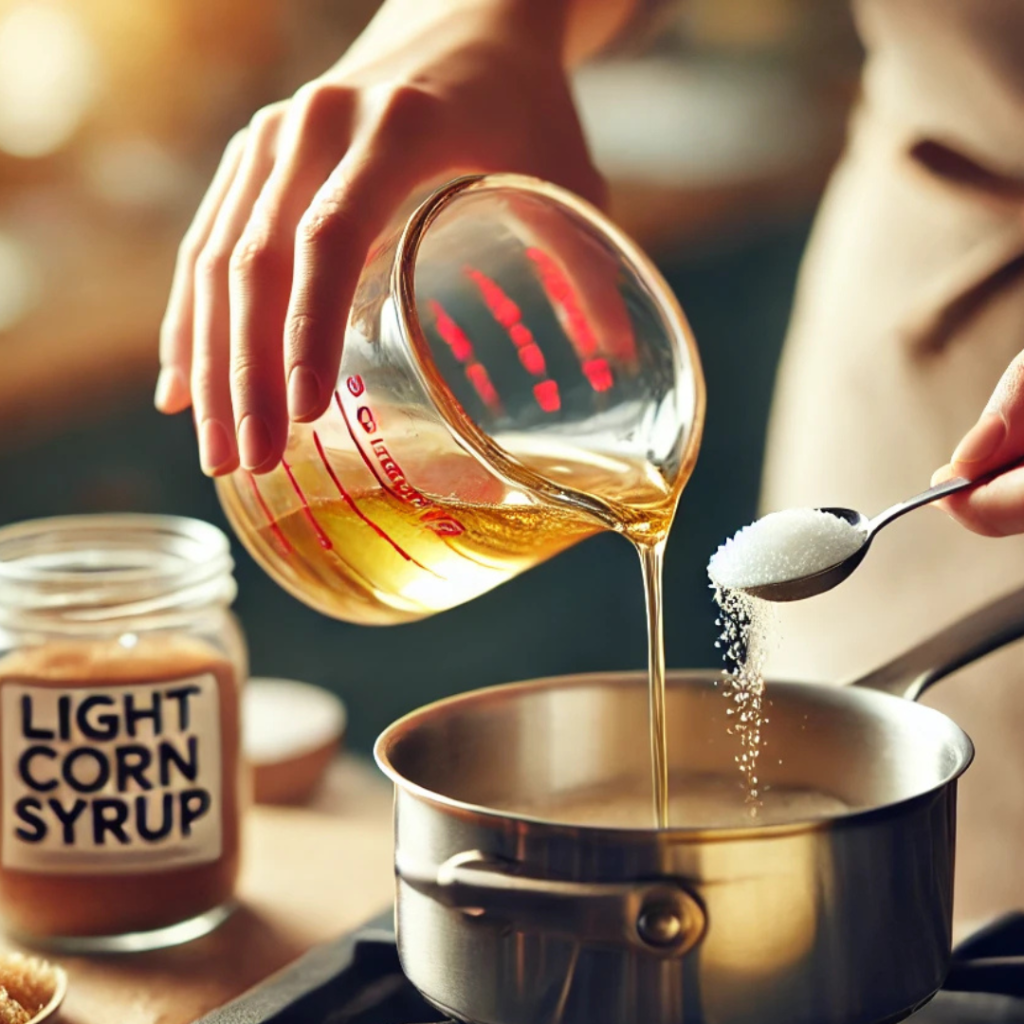
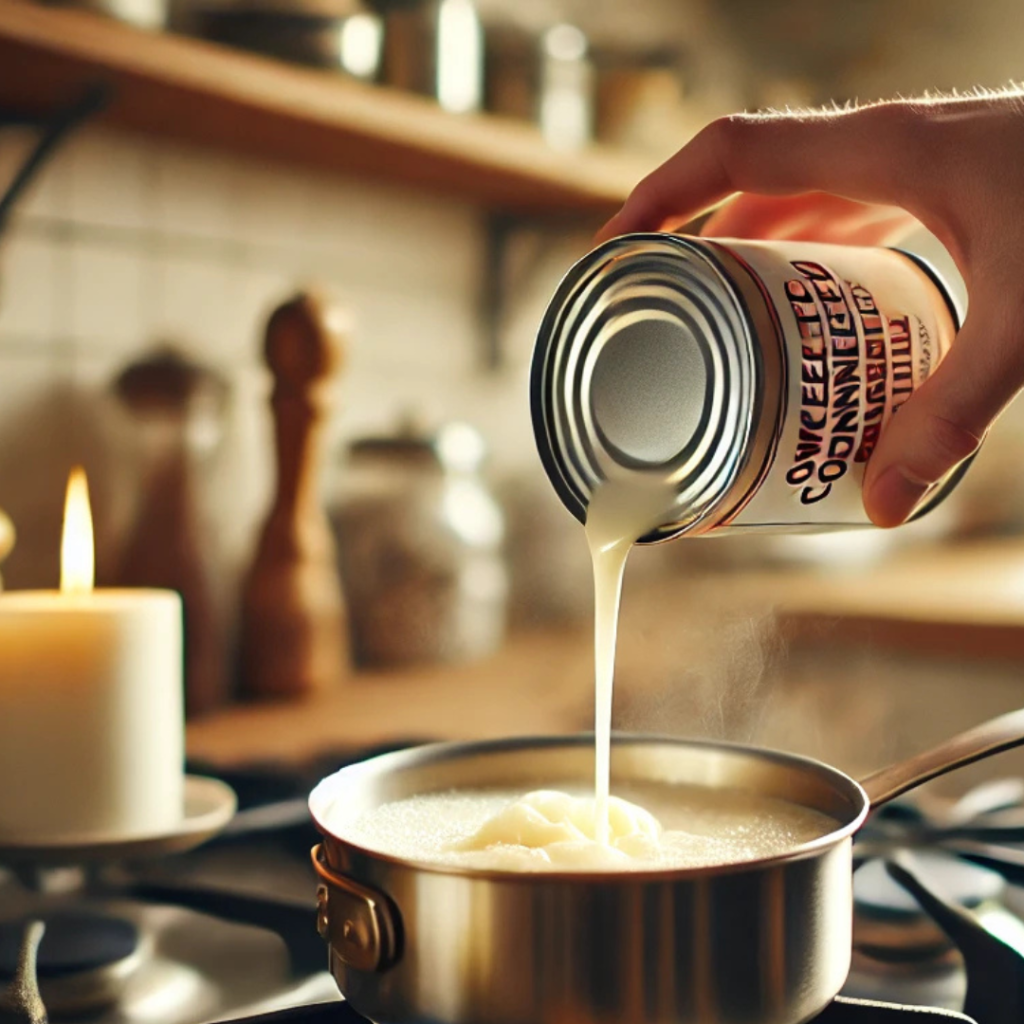
The magic happens when you add the light corn syrup and sweetened condensed milk. These two ingredients are key to achieving that smooth, chewy texture. Stir continuously to keep everything well incorporated and prevent any sugar crystals from forming.
3. Boil to the Soft-Ball Stage
This is where your candy thermometer becomes your best friend. Bring the caramel to a boil over medium heat, stirring constantly. Your goal is to hit 243°F (also known as the soft-ball stage). This ensures the caramels will be soft and chewy once set. Don’t skip this step—precision matters!
Tip: If you don’t have a candy thermometer, you can test the caramel by dropping a small spoonful into a glass of cold water. If it forms a soft, pliable ball, it’s ready.
4. Add the Vanilla and Pour
Once the caramel reaches the perfect temperature, remove it from the heat and stir in the vanilla. Pour it immediately into a well-buttered 13×9 inch pan. Buttering the pan thoroughly makes it easier to release the caramels later.
5. Set and Cut
Let the caramel cool at room temperature overnight. Don’t rush this part! Once the caramel has fully set, use a sharp knife to cut it into bite-sized pieces. Wrap each piece in cellophane for the perfect finishing touch.
Common Mistakes and How to Avoid Them
- Not Using a Candy Thermometer: While you can test the caramel manually with cold water, a candy thermometer takes out the guesswork and ensures perfect results every time.
- Rushing the Boiling Process: Candy making is all about patience. Keep the heat at medium and stir constantly. Don’t crank up the heat to speed things up—it’ll likely burn the caramel.
- Skipping the Buttered Pan: Always butter your pan generously. You’ll thank yourself when it’s time to release the caramels.
Creative Ways to Enjoy Your Caramels
- Salted Caramel Twist: Sprinkle flaky sea salt over the caramel while it’s still warm for a sweet-salty flavor combo.
- Chocolate-Dipped Caramels: Once cooled, dip the pieces in melted chocolate and let them set on parchment paper.
- Caramel Drizzles: Melt a few pieces of caramel with a splash of cream to create a perfect caramel drizzle for ice cream or cakes.
Budget-Friendly Tips for Making Homemade Caramel Candy
Creating delicious caramel candy doesn’t have to break the bank! Here are some simple adjustments to save money while keeping the recipe creamy and indulgent:
1. Switch to Margarine
- Replace butter with margarine for a more affordable option. While the flavor is slightly different, margarine works perfectly for smooth, creamy caramel.
2. Opt for Store-Brand Ingredients
- Use store-brand sweetened condensed milk, corn syrup, and brown sugar. These alternatives provide the same quality at a lower price.
3. Make Your Own Corn Syrup
- Replace light corn syrup with a homemade version:
- Combine 1 cup sugar + 1/4 cup water + pinch of cream of tartar in a saucepan. Heat and stir until the sugar dissolves completely.
4. Use Imitation Vanilla
- Imitation vanilla extract is a cost-effective substitute for pure vanilla without compromising the flavor of the candy.
5. Buy Ingredients in Bulk
- Purchase brown sugar and other staples in bulk or during sales to save money over time.
6. Reduce the Batch Size
- Cut the recipe in half to make a smaller batch for smaller households or gift-giving.
By making these small adjustments, you can enjoy creamy homemade caramel candy for less, saving up to 30% on ingredient costs without sacrificing taste.
Delicious caramel candy doesn’t have to cost a fortune – with these tips, you can enjoy this homemade treat guilt-free! 🍬
Tips for Success
- Constant stirring is key to smooth, creamy caramel without burning.
- Use a well-buttered pan to ensure the caramel releases easily.
- Cellophane is ideal for wrapping because it won’t stick to the candy like parchment paper.
- Invest in a reliable candy thermometer for accurate results.
Storage
- Store your wrapped caramels in an airtight container at room temperature for up to 2 weeks.
- For longer storage, keep in the refrigerator for up to a month.
FAQs
1. Can I use salted butter instead of unsalted?
Yes! If you use salted butter, simply omit the extra salt in the recipe.
2. How do I store homemade caramels?
Wrap each caramel individually in cellophane and store them in an airtight container at room temperature. They’ll stay fresh for about 2 weeks.
3. Can I freeze the caramels?
Absolutely! Store the wrapped caramels in a freezer-safe bag for up to 3 months. Let them come to room temperature before serving.
4. What if I don’t have a candy thermometer?
Test the caramel using the cold water method: Drop a spoonful into a glass of cold water. If it forms a soft, pliable ball, it’s ready.
Final Thoughts
Making homemade caramel candy might seem intimidating, but trust me—once you try it, you’ll never go back to store-bought. These creamy, melt-in-your-mouth caramels are worth every minute spent at the stove. Plus, the joy of sharing these sweet little bites with friends and family makes it all the more special.
So grab your saucepan, butter up that pan, and let’s get caramel-making! Your kitchen is about to smell absolutely heavenly.

Creamy Homemade Caramel Candy
Ingredients
- 1 lb unsalted butter (4 sticks)
- 2 lb light brown sugar
- Dash salt (about 3 pinches)
- 2 cups light corn syrup
- 2 cans sweetened condensed milk (14 oz each)
- 2 tsp vanilla extract
Instructions
- Melt the Butter: In a medium saucepan over medium-low heat, melt the butter completely. Turn off the heat.
- Add Sugar and Mix: Stir in the light brown sugar and mix well until it dissolves into the butter.
- Incorporate Salt and Corn Syrup: Add the salt and corn syrup, stirring continuously to combine everything smoothly.
- Mix in Condensed Milk: Slowly pour in the sweetened condensed milk, stirring gently as you add it.
- Bring to a Boil: Turn the heat to medium and bring the mixture to a boil. Important: Stir constantly and gently to prevent burning.
- Cook to Soft-Ball Stage: Continue stirring and cooking the caramel until a candy thermometer reads 243°F (soft-ball stage). This takes about 30–40 minutes.
- Add Vanilla: Remove the saucepan from the heat and stir in the vanilla extract until fully incorporated.
- Pour into Pan: Pour the caramel into a well-buttered 13×9 inch pan, ensuring an even spread.
- Set Overnight: Leave the caramel uncovered at room temperature overnight to allow it to set.
- Cut and Wrap: Once set, cut the caramel into bite-sized pieces. Wrap each piece in cellophane (parchment paper tends to stick).
Notes
Tips for Success
- Constant stirring is key to smooth, creamy caramel without burning.
- Use a well-buttered pan to ensure the caramel releases easily.
- Cellophane is ideal for wrapping because it won’t stick to the candy like parchment paper.
- Invest in a reliable candy thermometer for accurate results.
Storage
- Store your wrapped caramels in an airtight container at room temperature for up to 2 weeks.
- For longer storage, keep in the refrigerator for up to a month.
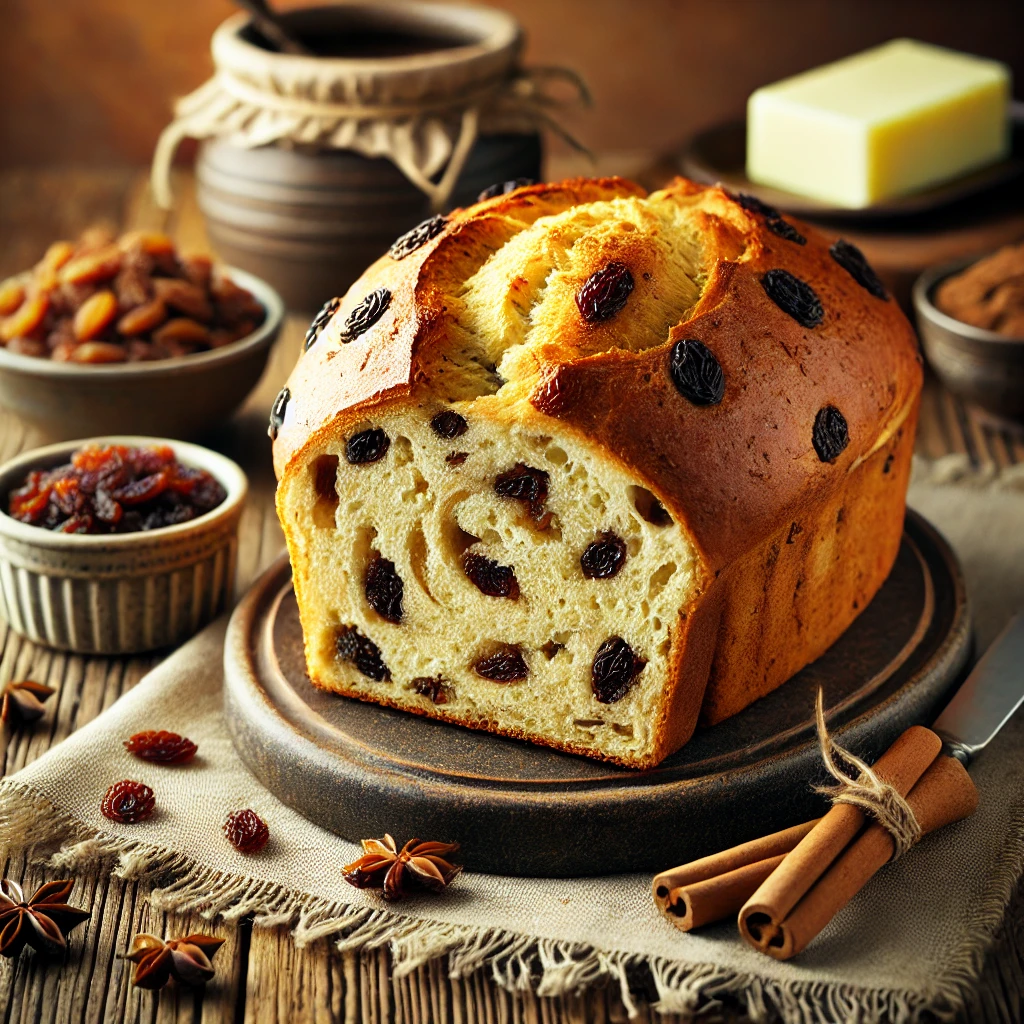
Bread Machine Cinnamon Raisin Bread
There’s something magical about the aroma of freshly baked bread wafting through your home, and when that bread is packed with cinnamon and plump raisins? Pure bliss. This Bread Machine Cinnamon Raisin Bread recipe brings together the comforting flavors of cinnamon, the sweetness of raisins, and the fluffiest loaf you can imagine. Whether you’re enjoying it warm with butter, toasted with your morning coffee, or as the base for an indulgent French toast, this bread is a treat for all occasions.
This recipe is perfect for beginners and seasoned bakers alike. Using your bread machine makes the process nearly foolproof, while the option to shape and bake by hand adds a touch of personal craftsmanship if you prefer. No bread machine? No problem! We’ve included easy-to-follow instructions for making this bread with a stand mixer or completely by hand.
What makes this bread so special? It’s the combination of soft, slightly sweet dough, a hint of spice from cinnamon and cloves, and juicy bites of raisins scattered throughout. Plus, the optional glaze gives the loaf a beautiful sheen, making it look as good as it tastes.
Whether you’re baking for your family, friends, or just for yourself (you deserve it!), this cinnamon raisin bread is sure to impress. Get ready to fill your kitchen with the cozy scent of homemade goodness and savor every bite of this classic recipe. Let’s bake something extraordinary!

How to Make Bread Machine Cinnamon Raisin Bread
Step 1: Making the Dough
- Add all dough ingredients (except raisins) into the bread machine pan in the order recommended by your machine.
- Select the DOUGH cycle and press START.
- Check the dough consistency 15 minutes into the cycle. Adjust by adding flour or liquid, one tablespoon at a time, if needed.
- When prompted (or before shaping), add raisins to the dough to prevent them from mashing during kneading.
Step 2: Shaping the Loaf
- Remove the dough from the bread machine onto a floured surface. Form into a ball and let rest for 10 minutes.
- Roll the dough into a 9 x 14-inch rectangle. Spritz lightly with water.
- Mix the filling ingredients and sprinkle evenly over the dough.
- Roll the dough jelly-roll style from the short end, pinch the seam, and tuck the ends under.
- Place the dough seam-side down in a greased 9 x 5-inch loaf pan. Cover and let rise until almost doubled (about 1-2 hours).
Step 3: Baking
- Preheat oven to 375˚F (190˚C).
- (Optional) Brush the loaf with the egg-water glaze for a golden crust.
- Bake for 35-45 minutes or until the internal temperature reaches 190˚F (88˚C).
- Let the bread cool in the pan for 15 minutes before transferring to a cooling rack.
Notes and Tips
- Milk Temperature: Use lukewarm milk to help activate the yeast.
- Adjusting for Dough Consistency: Add liquid or flour sparingly to achieve a soft, tacky dough that pulls away from the sides.
- Storage: Store in an airtight container at room temperature for up to 3 days or freeze for longer storage.
How to Assemble Cinnamon Raisin Bread by Hand
If you don’t have a bread machine, don’t worry! You can easily make this delicious bread by hand with a little extra love and elbow grease. Here’s how to do it:
Step 1: Combine Ingredients
- Prepare the Dough: In a large mixing bowl, combine ½ to ⅔ cup lukewarm milk, 2 large eggs, 3 tablespoons softened butter, ¼ cup sugar, 1½ teaspoons salt, and ½ teaspoon cinnamon.
- Add the Flour: Gradually add 3 cups of bread flour and 2¼ teaspoons of instant yeast to the wet ingredients. Use a wooden spoon or your hands to mix until a shaggy dough forms.
Step 2: Knead the Dough
- Knead on a Floured Surface: Turn the dough onto a lightly floured surface. Knead by hand for about 10-12 minutes until the dough is smooth and elastic.
- Tip: To knead, press the dough away from you with the heel of your hand, fold it over, and rotate it 90 degrees. Repeat this rhythmically.
- Check for Consistency: The dough should be slightly tacky but not sticky. If it’s too wet, sprinkle in a little more flour; if it’s too dry, add a teaspoon of milk at a time.
Step 3: First Rise
- Prepare a Bowl: Lightly grease a large bowl with oil or butter. Place the dough inside and turn it to coat with grease.
- Let It Rise: Cover the bowl with a clean kitchen towel or plastic wrap and place it in a warm spot. Allow the dough to rise until doubled in size, about 1-2 hours.
Step 4: Add Raisins
- Punch Down the Dough: Gently deflate the dough by pressing it down with your hands.
- Incorporate Raisins: Sprinkle ⅔ cup of chopped raisins or currants over the dough. Knead them in by hand until evenly distributed.
Step 5: Shape the Loaf
- Roll Out the Dough: On a lightly floured surface, roll the dough into a 9 x 14-inch rectangle.
- Add Filling: Spritz the dough lightly with water. Mix together the filling ingredients (⅓ cup powdered sugar, 2 teaspoons cinnamon, ⅛ teaspoon ground cloves) and sprinkle evenly over the surface.
- Roll It Up: Starting from the short end, roll the dough tightly jelly-roll style. Pinch the seam to seal and tuck the ends under.
Step 6: Second Rise
- Place in Pan: Grease a 9 x 5-inch loaf pan and place the dough seam-side down into the pan.
- Let It Rise Again: Cover the pan with a towel or plastic wrap. Allow the dough to rise in a warm spot until it’s almost doubled, about 1-2 hours.
Step 7: Bake the Loaf
- Preheat the Oven: Preheat your oven to 375˚F (190˚C) about 15 minutes before the dough is ready to bake.
- Optional Glaze: Whisk together 1 large egg and 1 tablespoon of water. Brush this mixture over the loaf for a shiny, golden crust.
- Bake: Bake for 35-45 minutes until the loaf is golden brown and the internal temperature reaches 190˚F (88˚C).
Step 8: Cool and Enjoy
- Cool in Pan: Allow the bread to cool in the pan for 15 minutes. Use a table knife to gently loosen the sides and turn it out onto a cooling rack.
- Slice and Serve: Let the loaf cool for at least 20-30 minutes before slicing to avoid squishing the bread. Enjoy warm or toasted with butter!
By following these steps, you’ll have a soft, cinnamon-swirled bread made completely by hand. Perfect for a morning treat or a cozy afternoon snack!
FAQs
Can I use active dry yeast instead of instant yeast?
Yes, substitute instant yeast with 2½ teaspoons of active dry yeast. Dissolve it in warm milk before adding to the machine.
What if my bread machine doesn’t have a dough cycle?
Use the basic cycle, and remove the dough before the final baking step to shape it as instructed.
Why is my bread dense?
Ensure your yeast is fresh, and check that the dough consistency is soft and tacky but not too wet or dry.
Bread Machine Cinnamon Raisin Bread | Perfect Cinnamon Swirl
Ingredients
Dough:
- ⅔ cup milk
- 2 large eggs
- 3 tbsp unsalted butter, chopped
- ¼ cup granulated sugar
- 1 ½ tsp table salt
- ½ tsp cinnamon
- 3 cups bread flour
- 2 ¼ tsp instant yeast
- ⅔ cup raisins or currants
Filling:
- ⅓ cup powdered sugar
- 2 tsp cinnamon
- ⅛ tsp ground cloves
Glaze (optional):
- 1 large egg
- 1 tbsp water
Instructions
- Step 1: Making the Dough
- Add all dough ingredients (except raisins) into the bread machine pan in the order recommended by your machine.
- Select the DOUGH cycle and press START.
- Check the dough consistency 15 minutes into the cycle. Adjust by adding flour or liquid, one tablespoon at a time, if needed.
- When prompted (or before shaping), add raisins to the dough to prevent them from mashing during kneading.
Step 2: Shaping the Loaf
- Remove the dough from the bread machine onto a floured surface. Form into a ball and let rest for 10 minutes.
- Roll the dough into a 9 x 14-inch rectangle. Spritz lightly with water.
- Mix the filling ingredients and sprinkle evenly over the dough.
- Roll the dough jelly-roll style from the short end, pinch the seam, and tuck the ends under.
- Place the dough seam-side down in a greased 9 x 5-inch loaf pan. Cover and let rise until almost doubled (about 1-2 hours).
Step 3: Baking
- Preheat oven to 375˚F (190˚C).
- (Optional) Brush the loaf with the egg-water glaze for a golden crust.
- Bake for 35-45 minutes or until the internal temperature reaches 190˚F (88˚C).
- Let the bread cool in the pan for 15 minutes before transferring to a cooling rack.
Notes
Notes and Tips
- Milk Temperature: Use lukewarm milk to help activate the yeast.
- Adjusting for Dough Consistency: Add liquid or flour sparingly to achieve a soft, tacky dough that pulls away from the sides.
- Storage: Store in an airtight container at room temperature for up to 3 days or freeze for longer storage.
